My very first post inspired by these lovely beauties! Yesterday, I was able to formulate a recipe on my own for the first time. I’ve baked loads and have branched out into cooking but I’ve always felt too nervous to try and invent my own recipe but here it is! I’ve been working a lot with sourdough the past few months, it seems like its the theme for my whole experience in quarantine because I’ve been caring for it so freaking much! I had some idea of how much time goes into maintaining your sourdough starter but I hadn’t realized that this time commitment also applies to every single bake you make from your mother or starter. With resources (specifically flour) having been very scarce in some parts of the country recently, I’ve felt that it was a tremendous waste to throw my discard down the sink. I’ve also been working on food sustainability research and this has further underlined the need to commit to less wasteful lives. So with this all in mind, I’ve been trying to make my sourdough discard go further and this is one way to do it.
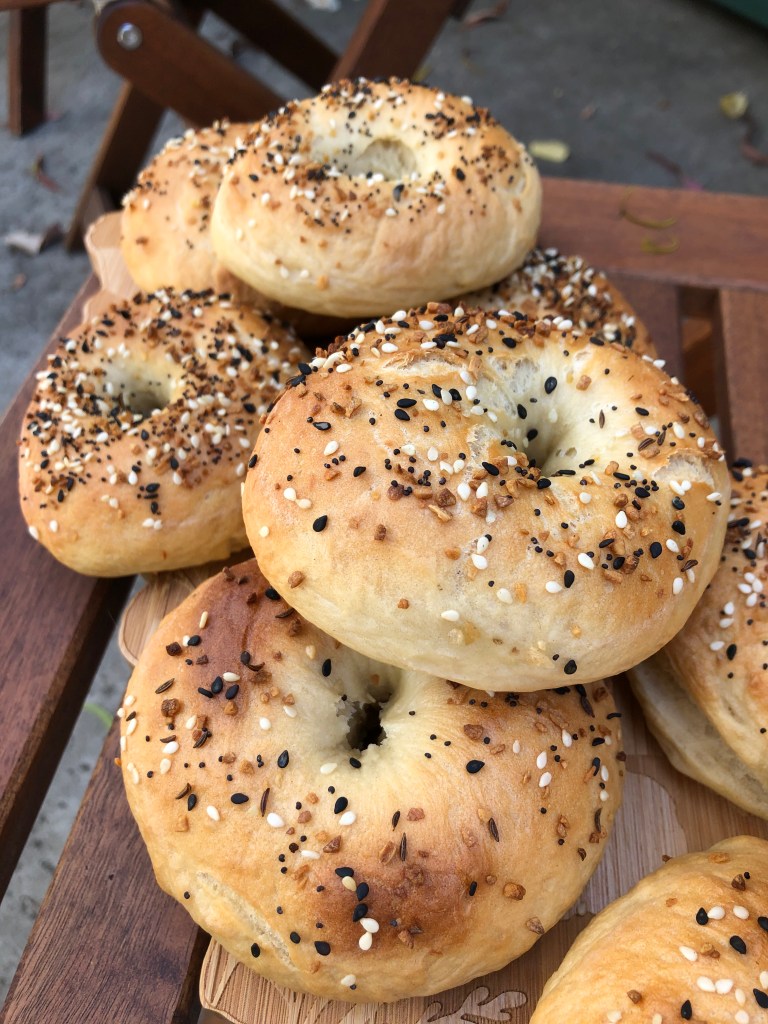
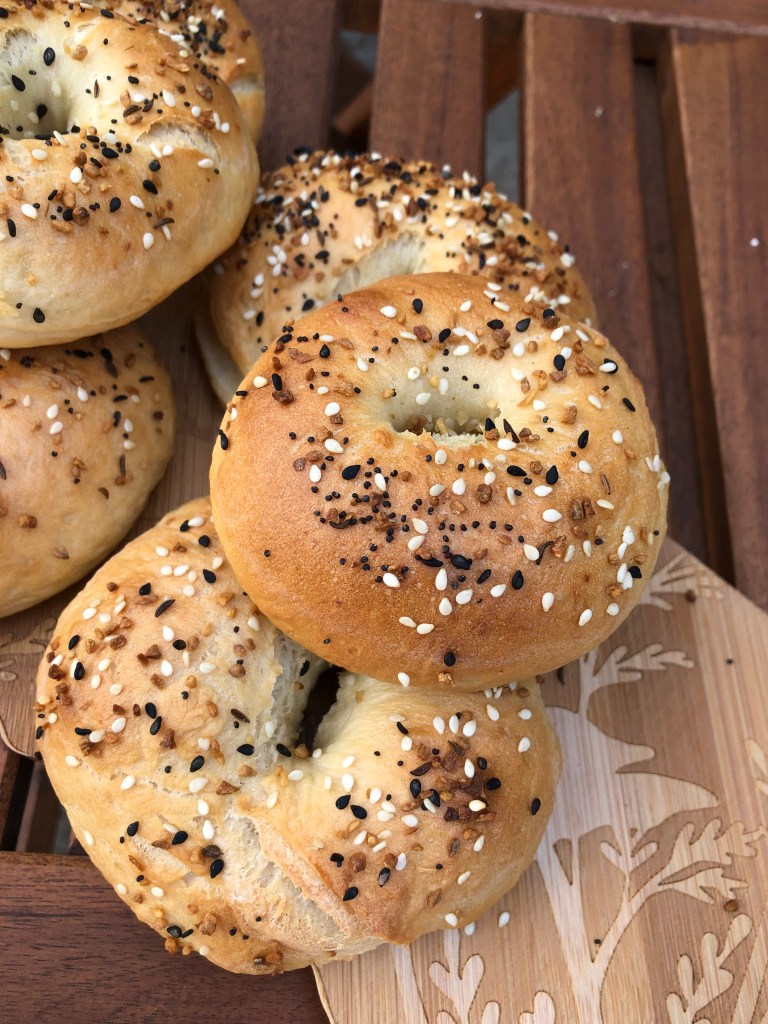
I also took inspiration from the Washington Post’s article on Sourdough Discard (https://www.washingtonpost.com/news/voraciously/wp/2020/05/22/heres-how-to-use-your-sourdough-discard-in-everyday-baking/) and this was my first successful attempt to incorporate my discard into a baked good without following a recipe from another baker. Without further ado, here are photos of my darling bagels and the recipe is below!
Sourdough Discard Bagel Recipe
For the Bagel Dough
- 2 1/2 teaspoon instant yeast
- 134 grams sourdough discard (unfed)
- 380 grams lukewarm water
- 35 grams malted milk powder (This can be found in the cereal aisle of the grocery store or you can use non-diastatic malt powder if you have it. Do not use diastatic malt powder because it will react with the sour in the discard and your bagels will taste funny)
- 25 grams granulated sugar
- 14 grams kosher salt
- 630 grams All-Purpose flour
For the Water Bath
- Medium or Large Saucepan (Use a shallow pan but one large enough to hold all the water)
- 2 quarts water (8 cups for people like me that have a hard time with measuring things)
- 2 tablespoons malted milk powder
- 1 tablespoon granulated sugar
Instructions
- Mix all the ingredients together and knead until smooth and elastic. You may need to add in a small amount of flour if the discard that you are using is more on the liquid side. If you decide to add in flavoring such as fresh or powdered herbs, now is the time to do so.
- Roll into a ball and place into a greased bowl. Let prove for 1 hour up to 1 1/2 hours. I test my dough to see if it’s done proofing by sticking my finger in and seeing if the impression stays put or springs back. If it springs back, the dough can continue to prove for a little longer.
- Preheat oven to 425F and line two half-sheet pans with parchment paper. Mix ingredients for the bagel bath and add to a saucepan, bringing it to a boil.
- Turn out dough from greased bowl and divide into 16 for small bagels or 12 for larger bagels.
- To shape the dough, roll it into a ball. Stick two fingers into flour then poke them into the center of your dough ball. Make sure they come out the other side of the bagel and you can sort of twirl the dough ball around your floured fingers to enlarge the center hole. Alternatively, you can use the older method for bagel shaping where you roll the divided dough sections into logs and you bring the ends together like you are making a wreath. This is slightly more complicated and if you take this method, you may need to practice on a few before it starts to look right. I’ve found the poking and twirling method to be the most fool-proof although the holes are usually smaller by the end.
- Place your shaped dough onto parchment and bring the whole sheet over to the stove top. Turn the boiling bagel bath down to a simmer and place your bagels in the water. You should let your bagel sit in the bath for about a minute each, 30 seconds per side. Place only 3-4 bagels in the bath at a time to prevent crowding.
- Once bathed, remove the bagels to the parchment and season as you like. I use Everything seasoning but you can really go nuts here, my only recommendation is that you use a dry seasoning.
- Once bathed and seasoned, put the bagels into the oven for 25 minutes, or until golden brown. I find that my bagels take anywhere from 20-30 minutes depending on how happy my oven is that day.
- Let cool on a wire rack and enjoy! I find that they last several days in an airtight container or can be frozen to be enjoyed later.
